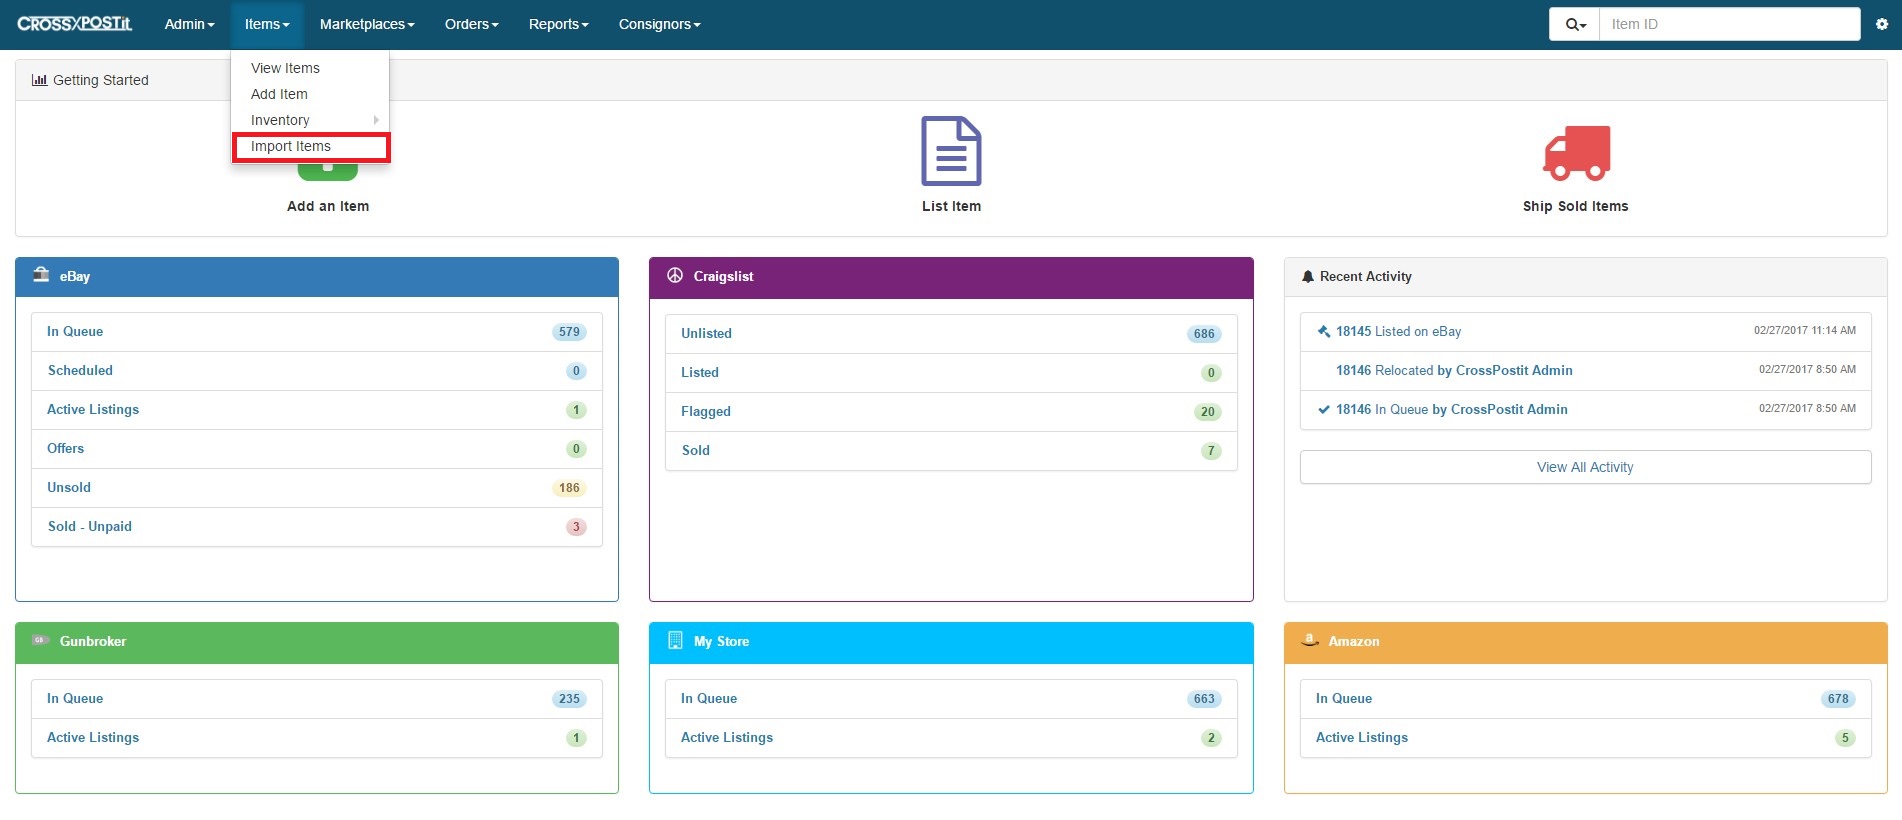
To access the bulk upload feature, go the Items drop down and choose Import Items.
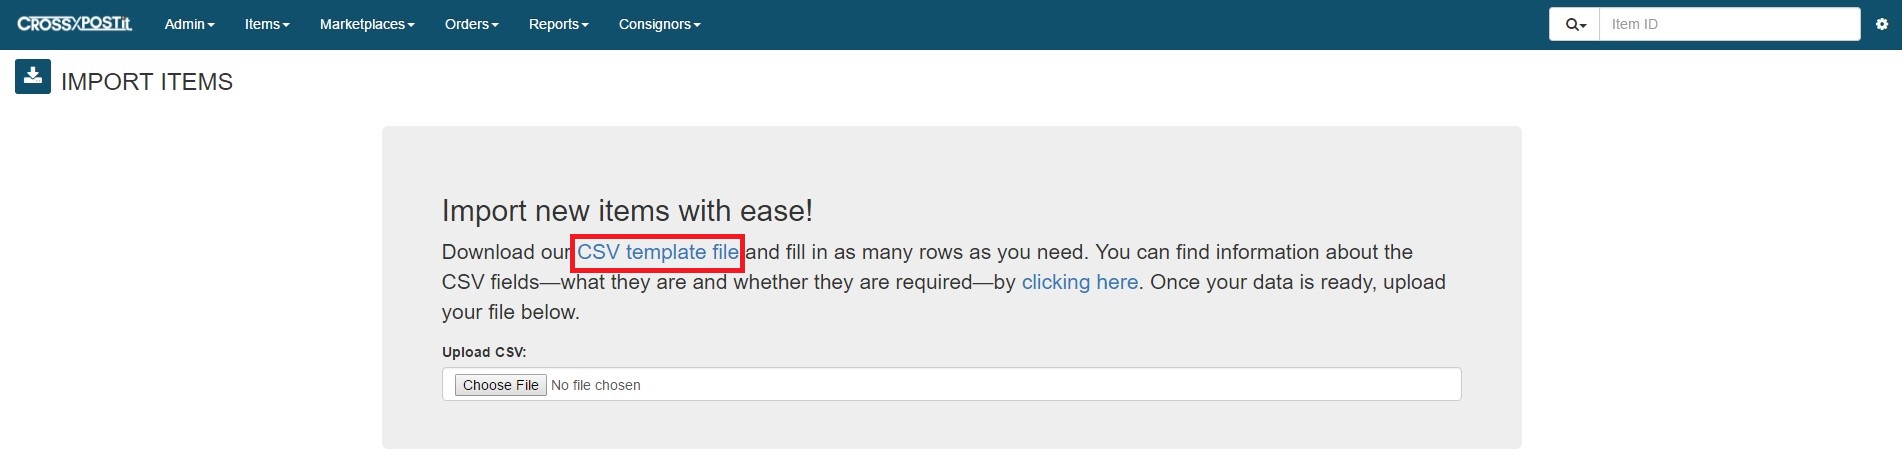
Once the Import Items page loads, you will have quite a bit of information presented to you. At the top of the page, you will see a CSV Template for download. The CSV template has fields that are already marked for the purpose of uploading more than one item to your inventory at any given time.
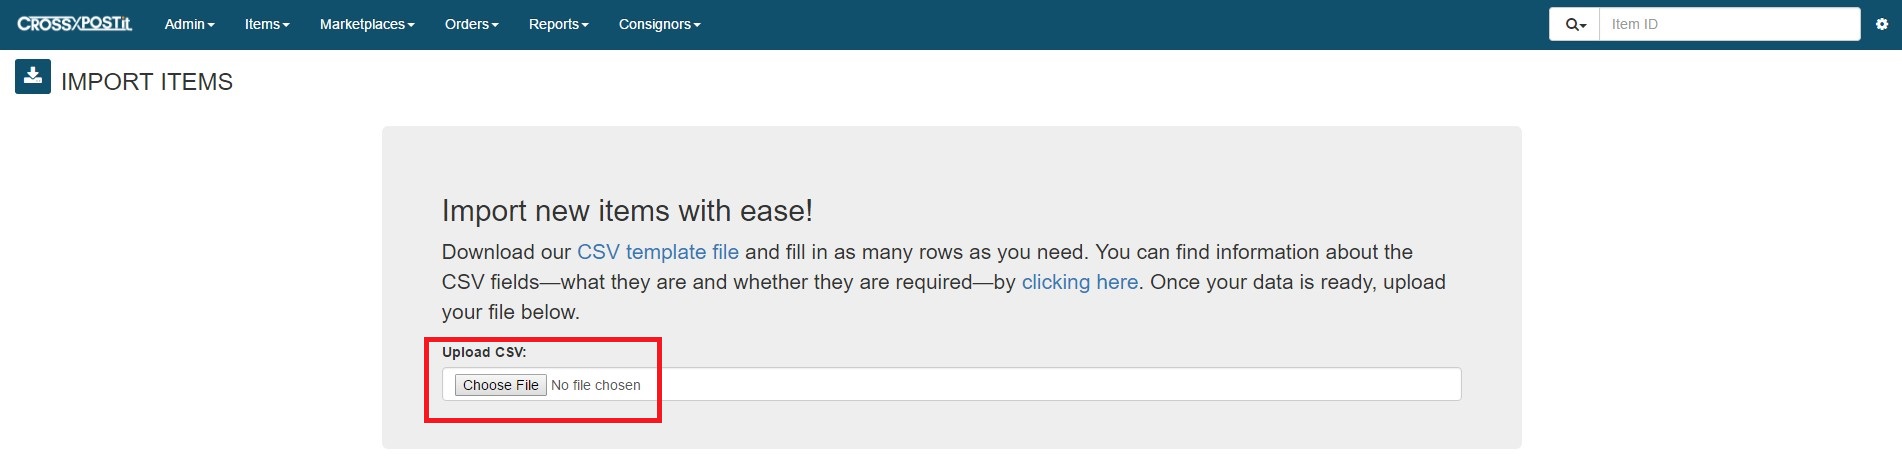
Also present is the ability to choose which CSV file to upload.
Below are the Data Types and Fields. While most of the information is self explanatory, more information can be found here: Data Types and Fields,
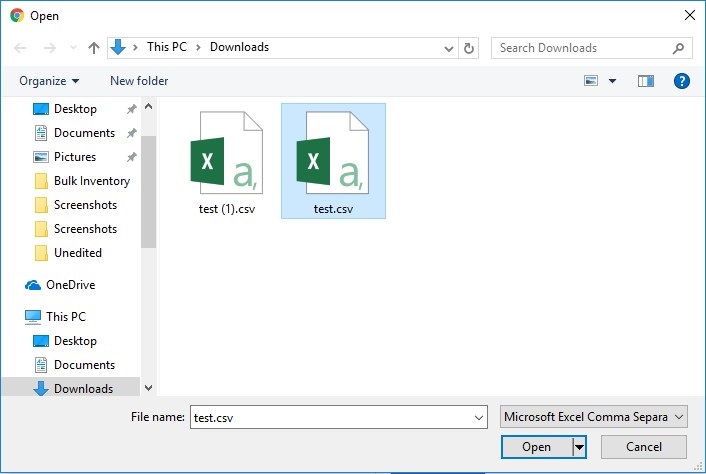
Once the list has been filled out, save it somewhere easily accessible (such as the desktop). Click on the button that says ‘Choose File’ and navigate to your CSV file, then select it. Click OK, and a preview pane will pop up.
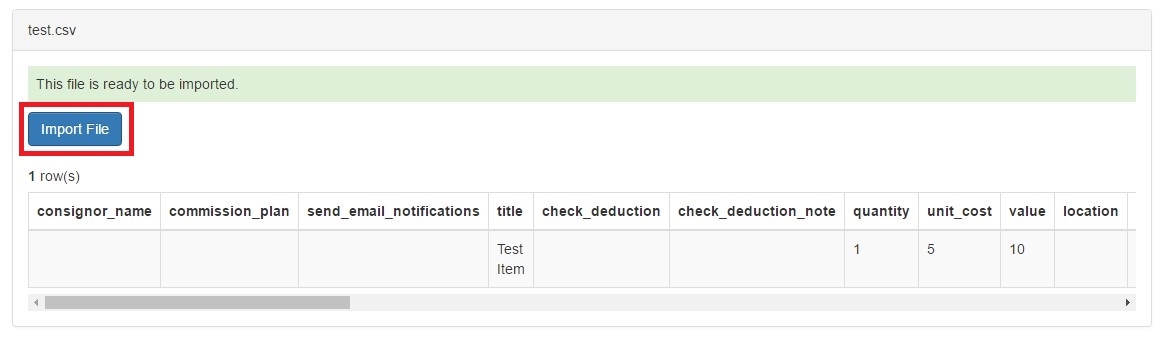
Review the information to make sure you have selected the correct file. If so, click Import File, otherwise repeat the previous step of selecting your CSV file.
If the file does not properly load, you will see the following error:

The error message below the pink line will let you know exactly what, and where the error is so that it may be corrected.
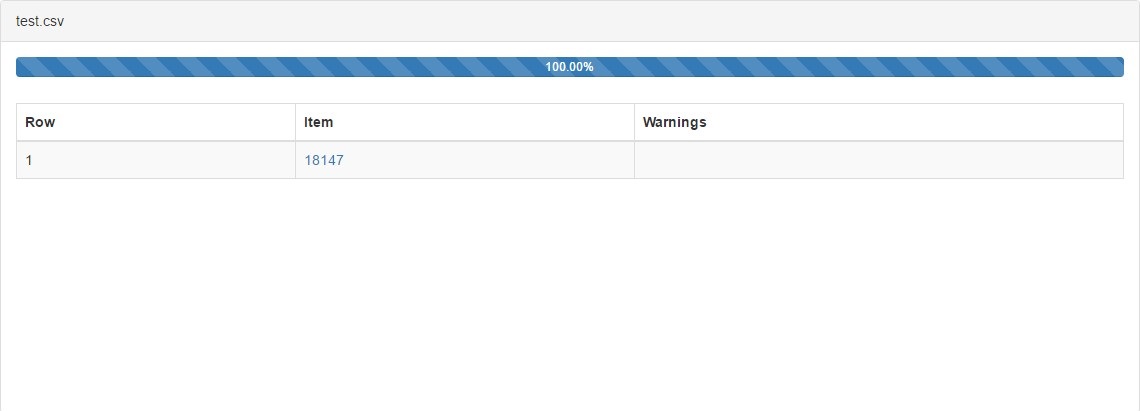
If the file is loaded properly, you will see the following screen: