This article is only for creating files to export to QuickBooks.
If you need any assistance with importing the files, please reach out to the QuickBooks support staff.
There are two files that can be created for QuickBooks to import. The first method we will cover is the .iif file.
To get to the .iif file option, click on the gear in the upper right, then click on Settings.
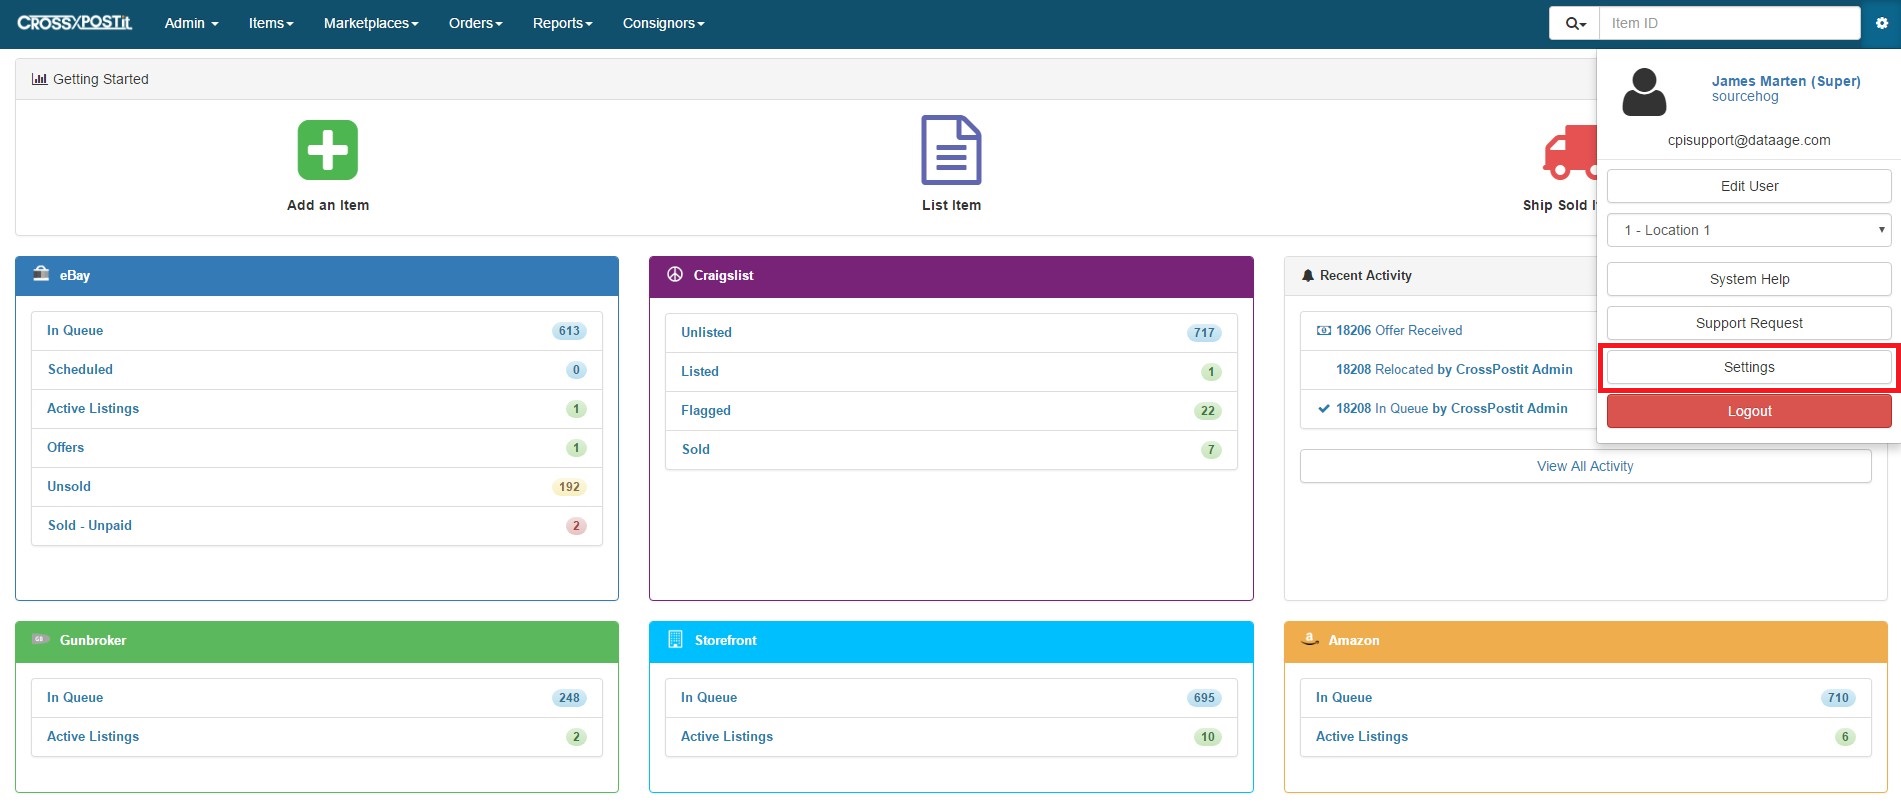
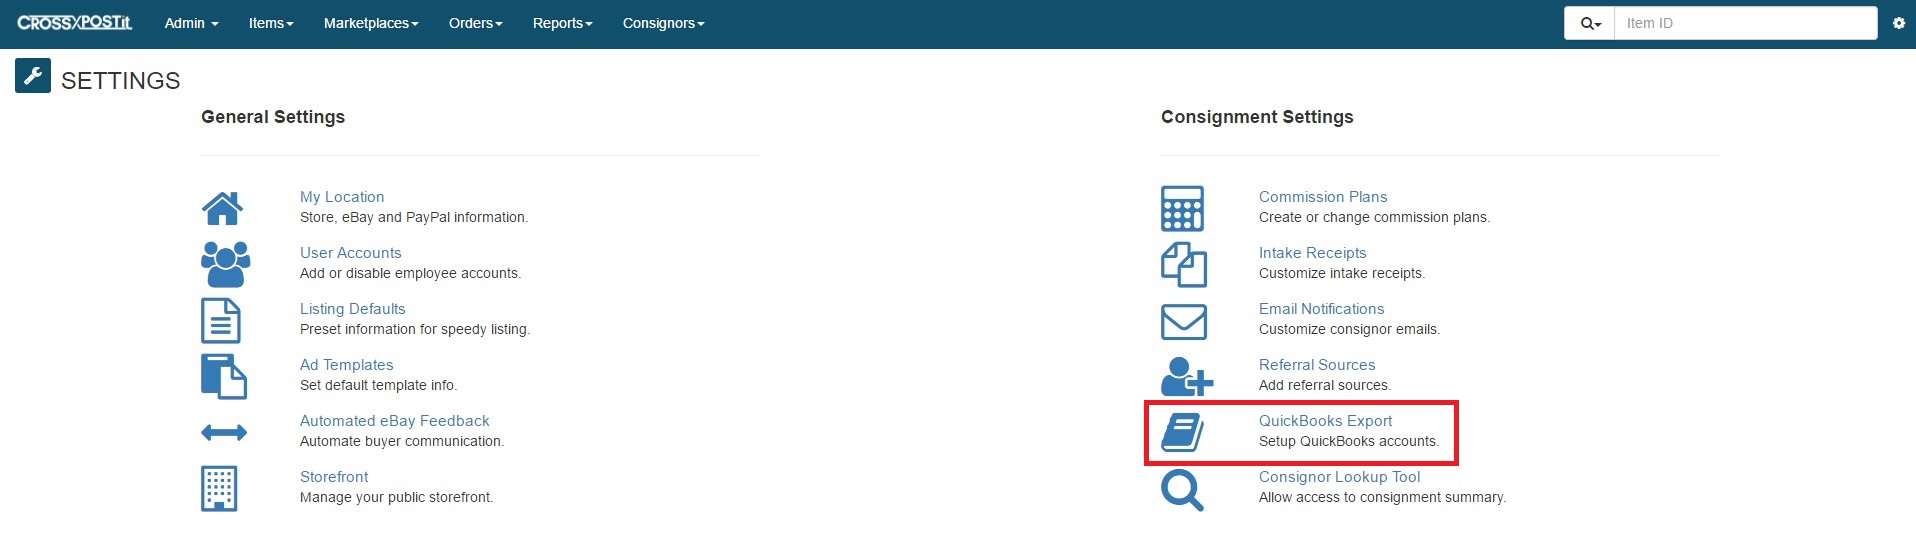
Once you are in Settings, look on the right hand side, under consignment Settings, for QuickBooks Export.
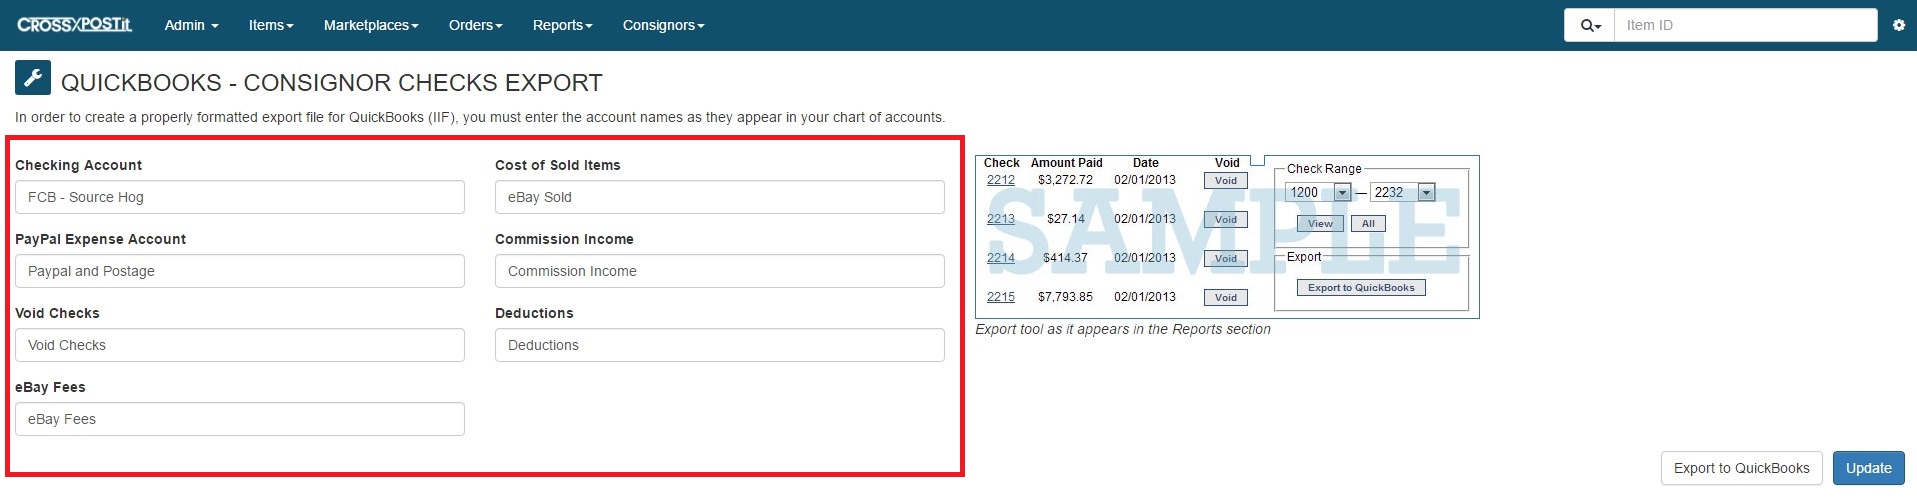
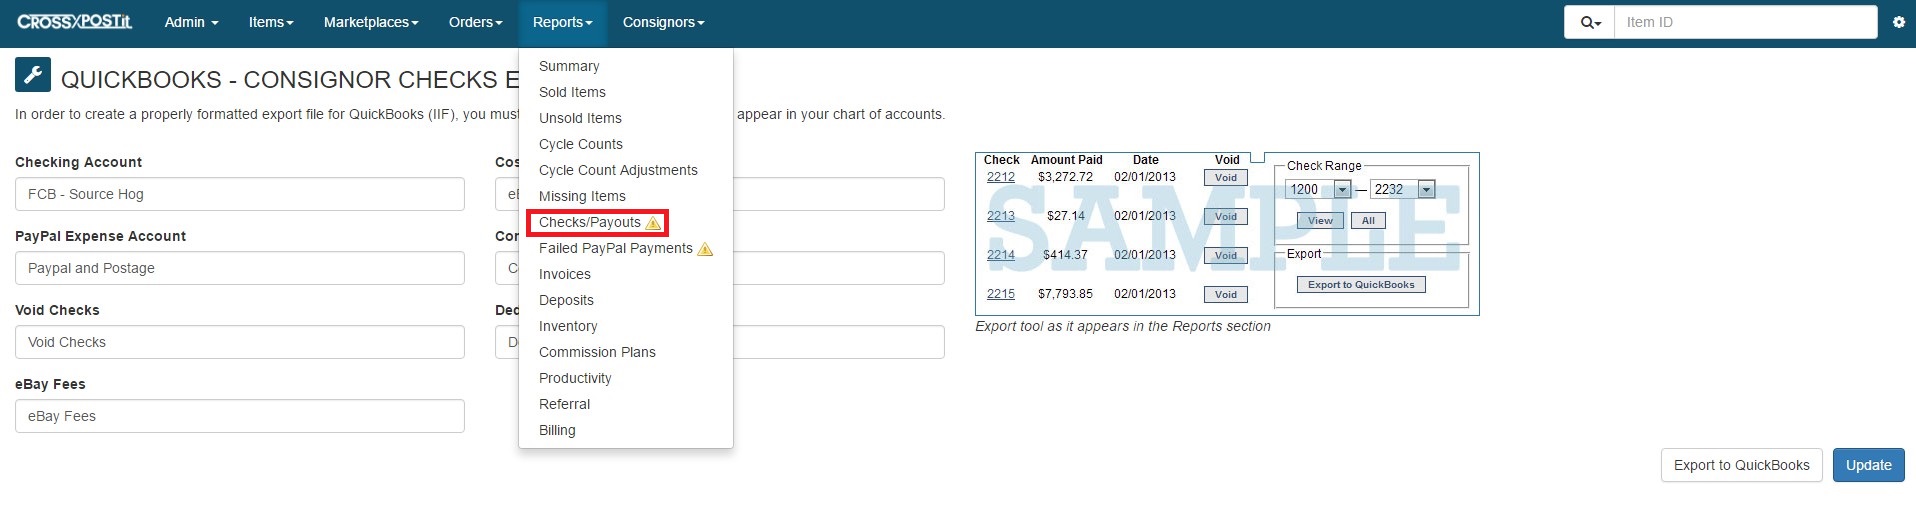
In the QuickBooks Export page, there are a few text boxes that you will see. Fill them out with the relevant accounts in QuickBooks. All of these can be found under the Chart of Accounts.
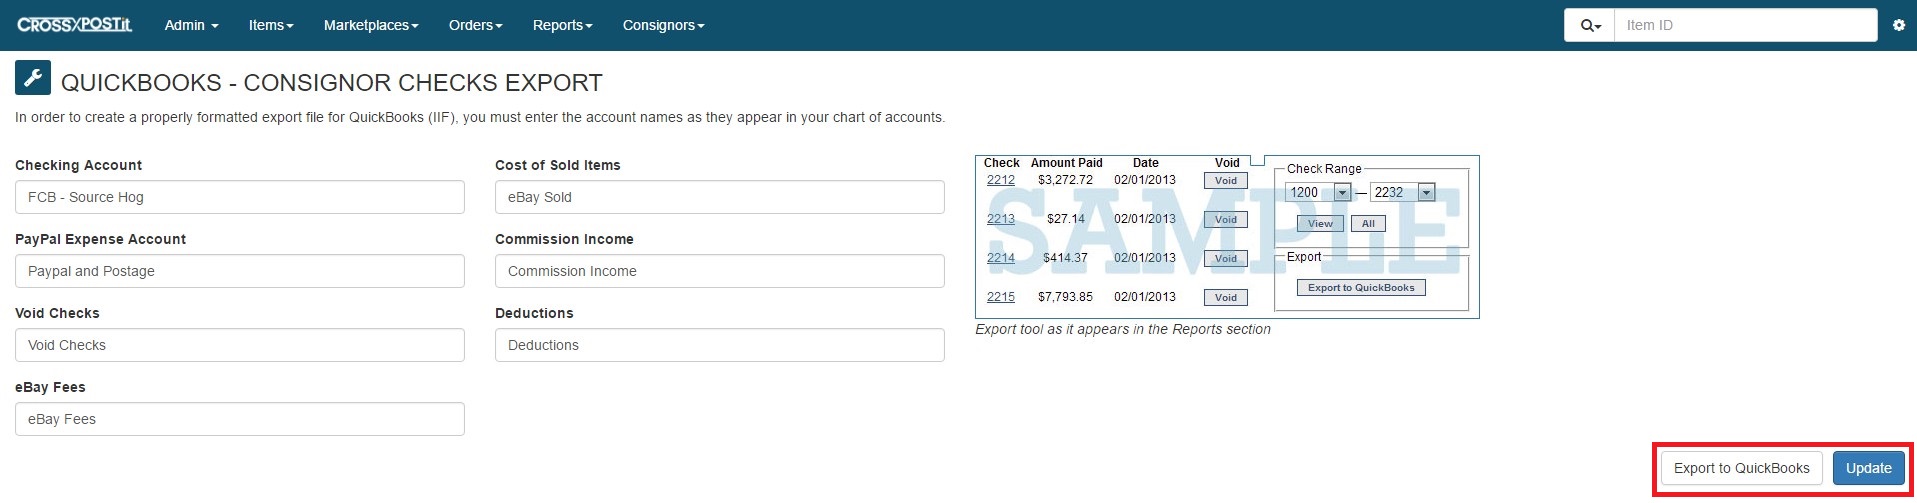
Once you have verified that the accounts are correct, click update to save the changes. Afterward, click the button that says Export to QuickBooks to have an .iif file created.
To create a .csv file to import in to QuickBooks, click on Reports and choose Checks/Payouts.
Once you are at the report, enter in the appropriate date range that you are looking for, and run the report.

Once the report has been run, to the right of the ‘This Month’ button is another button to click. Clicking on it will produce a .csv file with the information from the report.

For any help with importing the files to QuickBooks, please reach out to the QuickBooks support staff.