Adding an item is a quick process. Under the Items tab, click Add Item – then select the Consignor (1) the item will be assigned, if the consignor you are adding the item for is already in your account.
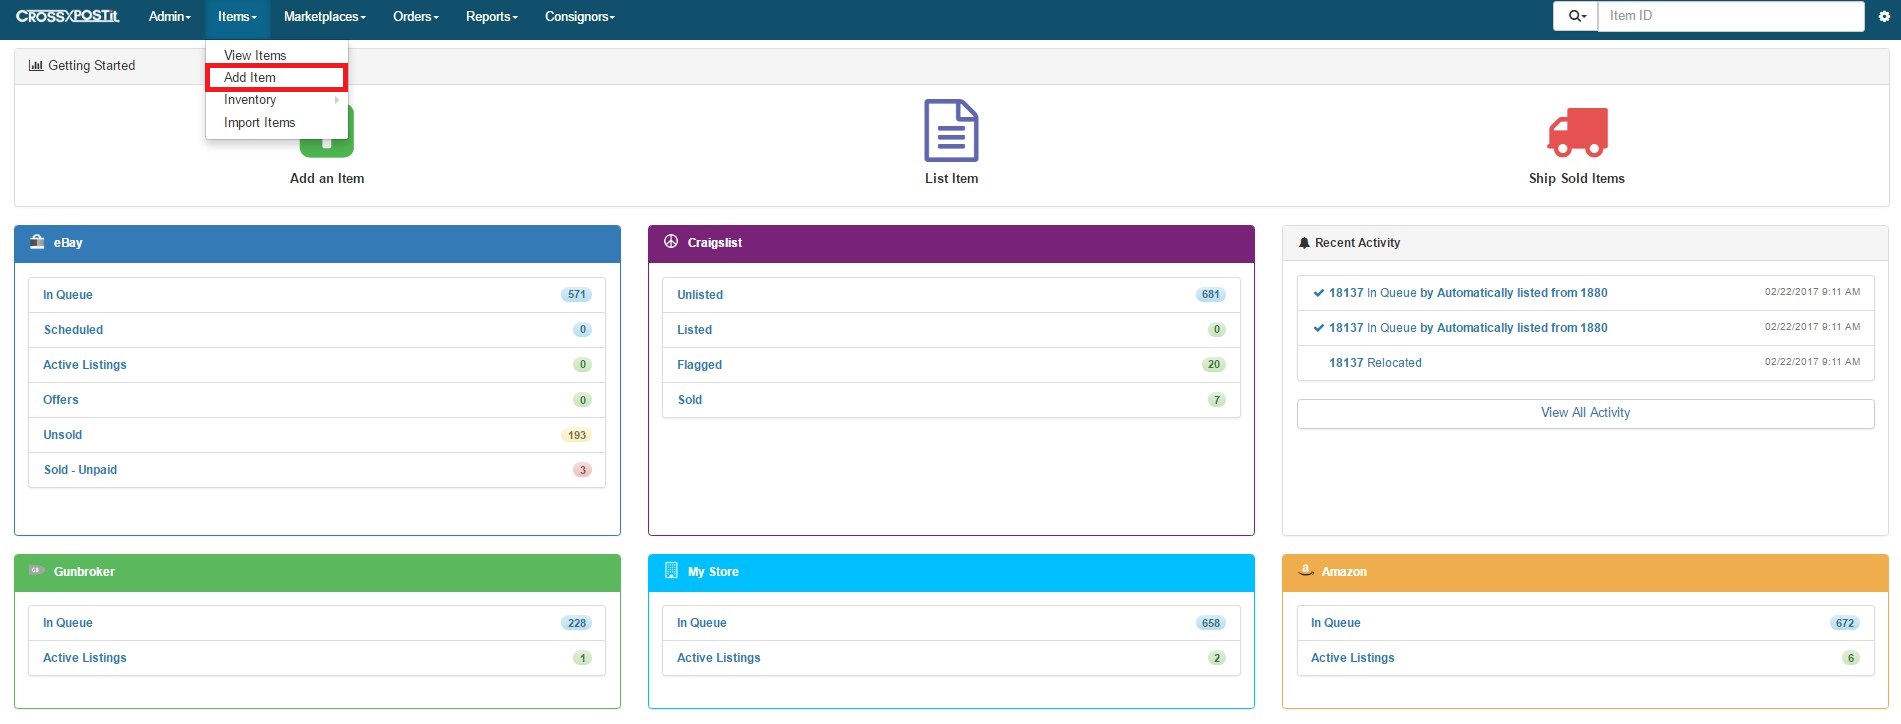
If they are not in your account, you’ll need to click “Add New Consignor” under the Consignors tab . When adding an item, first select the Consignor the item belongs to. Then enter a title for the item. This does not have to be the exact title being listed, this will be the title that is printed on the receipt for the Consignor.
Select “Commission Plan”. (2) The Info Lines are multipurpose lines that do not show up in the listing and are included in the sales export .csv file. If the consignor does not want to receive email notifications for the item, uncheck the box. (3)
On the right side enter the Quantity (4), Unit Cost (5) and the Value (6) of the item all for store purposes only. If you only want to list the item on a certain market, select where you want the item to show In Queue by checking or unchecking the different Marketplaces. (7)
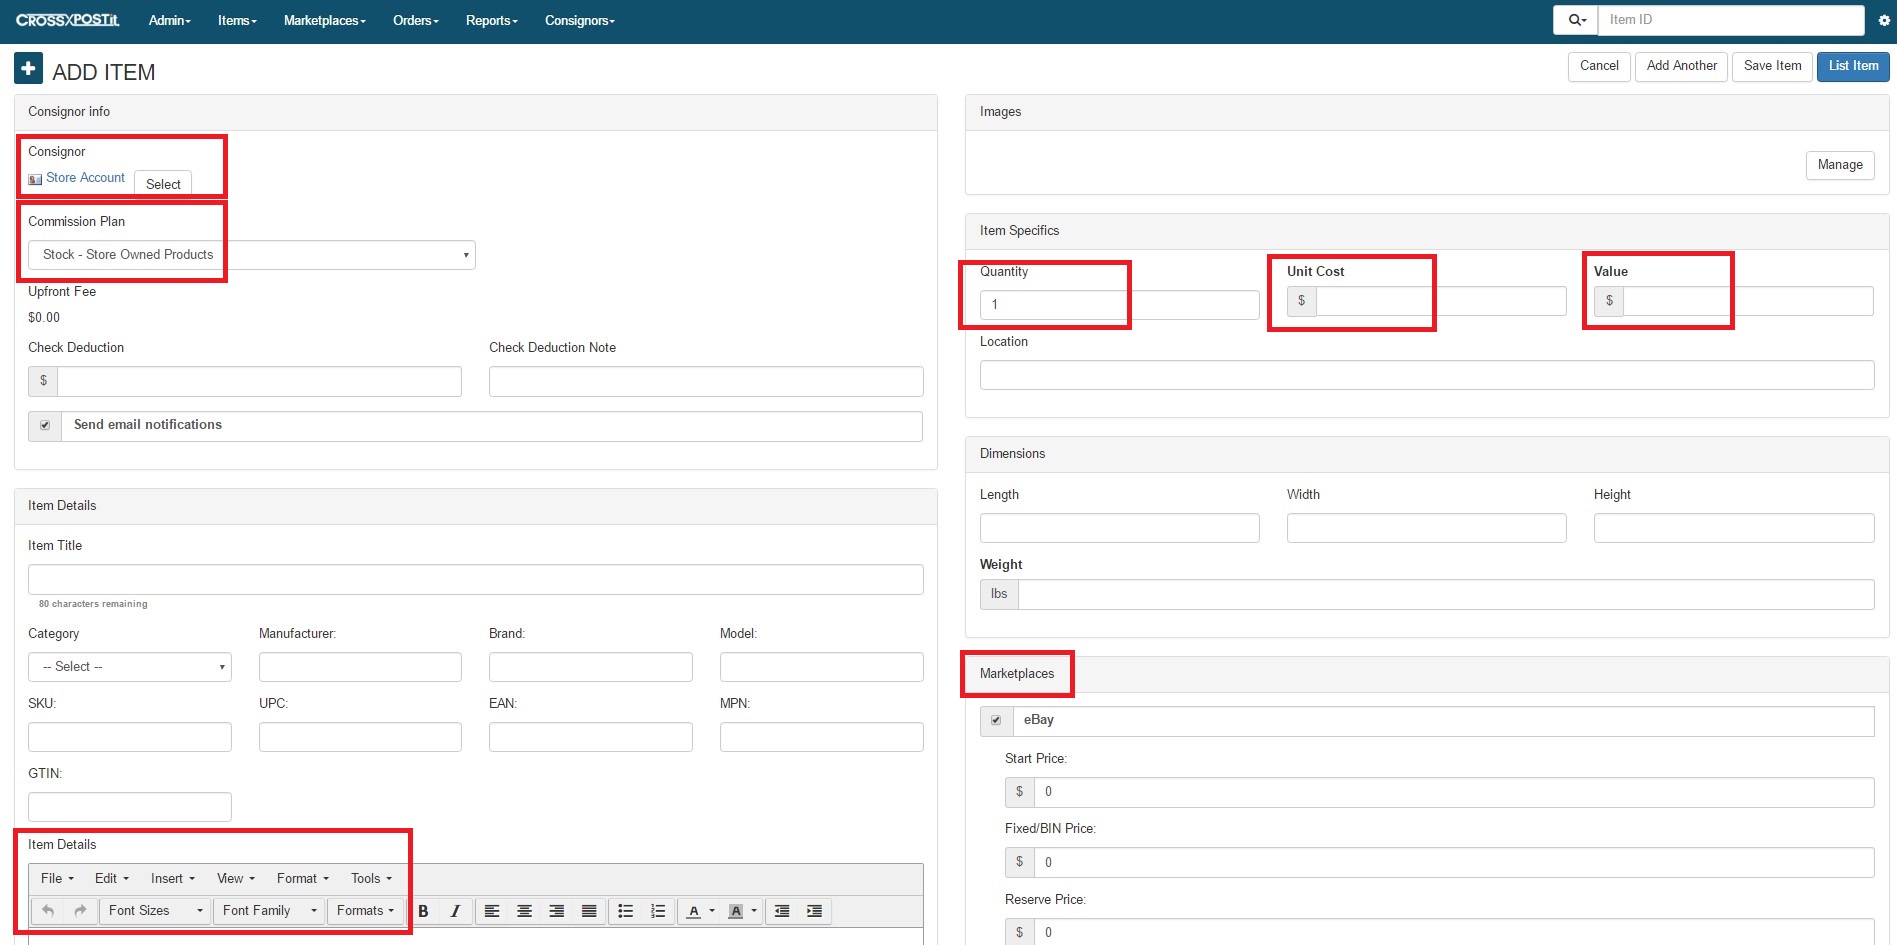
While entering Item Details (8), remember that you are entering information necessary for the receipt to the consignor. You will still be able to enter in a full description after the item has been taken into the software. Employee Notes are for internal purposes only and will not be seen by the consignor.
If you have multiple items, click the Save & Add Another button (9), otherwise, click the Save button if you just have the single item. After you are finished adding items, this brings you to the Receipts page. What shows up is the Consignor Receipt, Store Receipt and all of the Tracking Slips for each item added.
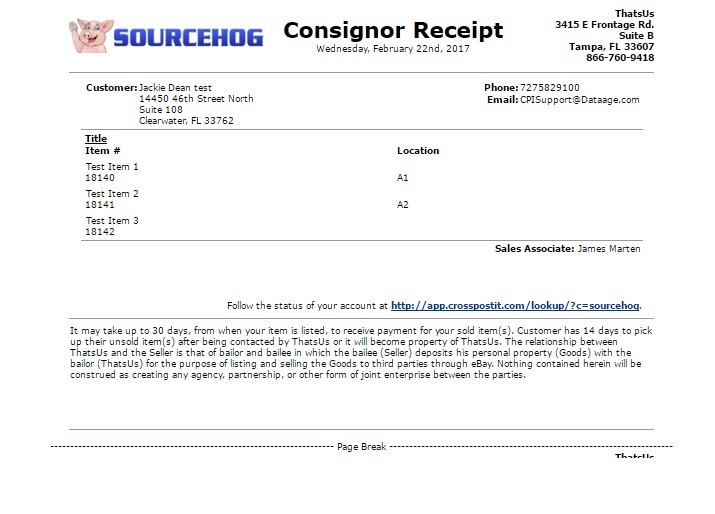
Click Print at the top right if you want a copy of all the Receipts and Tracking Slips. After printing, you have the option to list the item on eBay, Craigslist or Amazon, or you can go to a different section of the software.